
Klaviyo signup forms are one of the most powerful tools for collecting email subscribers, offering promotions, and growing your audience. When they work correctly, forms appear exactly where and when you choose, helping you turn website visitors into long-term...

Why Your Klaviyo Sign Up Form Won’t Submit or Add Subscribers
Why Your Klaviyo Sign Up Form Won’t Submit or Add Subscribers
Klaviyo signup forms are one of the most powerful tools for collecting email subscribers, offering promotions, and growing your audience. When they work correctly, forms appear exactly where and when you choose, helping you turn website visitors into long-term customers. But one of the most frustrating issues Klaviyo users face is publishing a form and discovering that it simply does not appear on the website.
Whether the form is a popup, flyout, embedded form, or banner, several factors can prevent it from displaying properly. Some of the fixes are simple while others require more careful testing, but every issue can be resolved once you understand how Klaviyo identifies visitors and controls form behavior.
This guide walks through every common reason why a Klaviyo form might not show up and explains how to troubleshoot each scenario step by step.
Make Sure the Klaviyo Script Is Installed Correctly
The most fundamental requirement for displaying Klaviyo signup forms is the Klaviyo.js script. This small piece of JavaScript connects your website to your Klaviyo account, allowing forms, tracking, and visitor identification to function. If the script is not installed correctly, Klaviyo will not be able to load or display any forms.
If you are using Shopify, Klaviyo usually installs this script automatically when you integrate your store. However, for custom websites or other ecommerce platforms, you will need to install the script manually in the header of your site. If the form is not showing and you suspect the script may be missing, check your site’s code or use your browser’s developer tools to confirm whether the Klaviyo.js snippet is present.
Without the script, the form has no way to communicate with Klaviyo. Once the script is installed and verified, refresh your site and test again to see if the form loads.
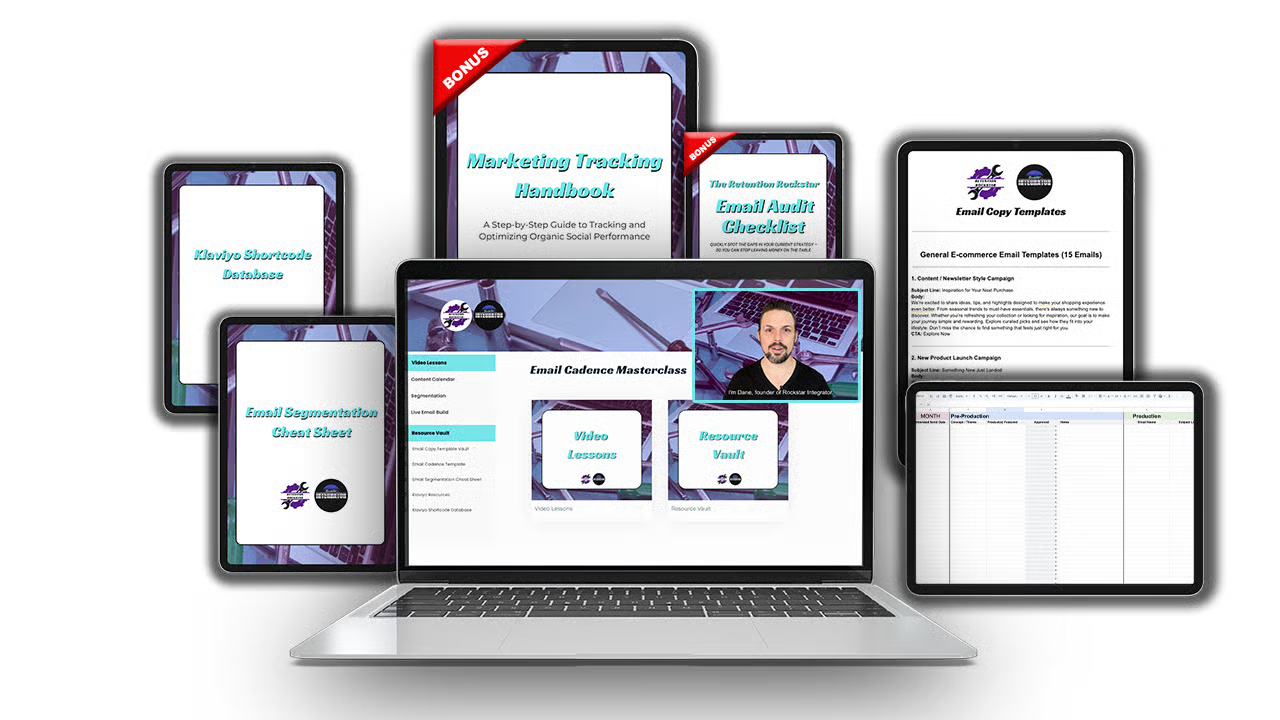 |
If you want deeper guidance on how to structure your weekly email schedule, build high-converting campaigns, and map out your entire customer journey inside Klaviyo, check out my Email Cadence Masterclass. It includes a full, live Klaviyo email build where I walk you through the exact cadence I use for eCommerce brands, along with templates you can plug into your own account. |
Ensure the Submit Button Is Properly Configured
Another common reason a Klaviyo form does not submit is that the button is not actually set to perform a submission action. Every button inside the Klaviyo form editor has its own behavior settings, and if the button is accidentally set to “Close Form” or “Go to URL,” the form will not send any subscriber information to your list. It may look like the form is broken, when in reality the button is simply assigned the wrong action.

Open your form inside Klaviyo and click directly on the button. In the panel on the left, review the action settings and confirm that it is configured to “Submit Form.” This is also the area where you decide what happens after a successful submission, such as showing a success message or redirecting to a thank you page. Once the button is correctly set to submit, your form should be able to pass data into Klaviyo without any issues.
Check for URL Targeting and Misspellings
Klaviyo allows you to display forms only on specific URLs. This is helpful if you want unique forms for product pages, landing pages, or blog posts. But if the URL targeting has a misspelling, extra characters, or mismatched formatting, the form will not appear on the page at all.

For example, a form might be set to display only on “/collections/new-arrivals”, but if your site uses “/collection/new-arrivals” or adds a trailing slash, Klaviyo will not recognize the match. Even small inconsistencies can break the targeting logic. If your form is not showing, double-check the URL settings and ensure they match the exact URL structure of your site.
It is also possible that a form is unintentionally limited to only one page or excluded from specific areas of the site. Reviewing your form’s targeting conditions can help you avoid situations where a perfectly fine form is simply pointing to the wrong location.
Verify Whether You Are a New Visitor or an Existing Subscriber
Klaviyo’s visitor identification is one of its most powerful features, but it can also confuse new users. Klaviyo uses cookies to detect whether a visitor is already a known subscriber. If your form is configured to show only to new visitors, Klaviyo will hide it from anyone who is recognized, including you.

This is one of the most common reasons users think a form is broken. The form may be working perfectly, but Klaviyo suppresses it because you already exist as a subscriber in the account.
The opposite can also happen. If your form is set to appear only for returning or existing Klaviyo profiles, new visitors will never see it. The best way to confirm which group you fall into is to test your form in an incognito or private browsing window. Incognito mode removes all cookies and allows you to see what a brand new visitor would experience.
Understanding the difference between new visitors, returning visitors, and known subscribers is key to diagnosing visibility issues with your Klaviyo forms.
Review Your Location Targeting Settings
Klaviyo forms include an option to target or exclude specific geographic regions. This feature can be useful when restricting promotions to certain countries or when tailoring forms for different audiences. However, incorrect location targeting can unintentionally prevent your form from appearing.

If you have location-based filters applied, the form will only show to visitors who are browsing from the selected region. If you are testing from another area or using a VPN, the form may never display. To rule out location issues, temporarily disable geographic targeting in your form settings and test again.
Many users forget they enabled this feature or do not realize how strict the targeting can be. Turning it off during troubleshooting helps determine whether the issue is related to geography or another part of the form logic.
|
Want help building a weekly email schedule that actually works?
My Email Cadence Masterclass teaches you how to map, write, and automate a full email marketing rhythm inside Klaviyo. |
Check Whether Your Form Requires Specific Cart Contents
Some Klaviyo forms are designed to appear only when the visitor meets a specific condition inside their cart. Examples include forms that show only when cart value reaches a certain threshold or when a shopper adds a specific product.

If your form is triggered by cart behavior, make sure you replicate the necessary conditions during testing. Add the required product to your cart or adjust your cart total until it meets the form’s criteria. Without matching these conditions, the form will not appear.
This is especially common for upsell popups, free shipping threshold reminders, and product-specific discounts. Understanding the conditions your form relies on helps you test it more accurately and prevents false assumptions about the form being broken.
Confirm That the Form Is Live and Published
Sometimes the fix is simple. Klaviyo forms will not display if they are in draft mode or if they were published but later reverted to an inactive state. A form in draft mode is not connected to your website and will not appear no matter how your settings are configured.

Check your form status inside Klaviyo and confirm that it is set to live. If the form is in draft, publish it and refresh your testing page. If it was previously published but recently edited, ensure that you republish your changes so the latest version appears on the site.
This is one of the quickest issues to resolve, and it is always worth verifying before digging into more complex troubleshooting.
How to Test Klaviyo Sign Up Forms Effectively
Testing Klaviyo forms can be tricky because cookies, visitor identification, and form behavior rules influence what each person sees. The most reliable way to test a form is to use an incognito or private browsing window. This type of browser session removes all cookies so that Klaviyo treats you as a brand new visitor.
Once you open your site in incognito mode, refresh the page and wait a few seconds to allow the form to load. If your form requires specific actions, such as scrolling, exit intent, or adding items to your cart, make sure you complete those steps. For cart-based triggers, add the required products to your cart before expecting the form to appear.
If your form requires the visitor to be an existing subscriber, subscribe to the list using the form and then refresh the page to test that version of the targeting logic. The key is to duplicate the exact conditions your form expects before assuming it is not working.
Avoid closing the incognito window between tests if you are trying to walk through a multi-step scenario. Re-closing the browser resets your session and can cause confusion during testing. Instead, refresh the page as needed and continue testing from the same window.
Patience also plays a role. Some forms have slight delays built into their load settings. Giving the page a moment or two to display the popup is often all that is needed.
|
If you want to take your Klaviyo strategy beyond the basics, my Email Cadence Masterclass is the next step. I break down the exact email cadence top-performing brands use, then build a full campaign live inside Klaviyo so you can see the workflow in real time. It’s designed to help you send smarter, more consistent emails without guessing. |
Final Thoughts on Troubleshooting Klaviyo Form Visibility
Klaviyo forms rely on several layers of logic that determine when and how they appear. While it can be frustrating when a form does not show on your website, the issue almost always falls into one of a few familiar categories. Once you verify that the script is installed, confirm your targeting settings, and test in a clean browsing environment, you can usually pinpoint the root cause.
Most importantly, remember that Klaviyo hides forms for a full year after a visitor dismisses them. This cookie-based suppression often tricks users into thinking their form is broken when, in reality, Klaviyo simply recognizes the visitor and suppresses the form to avoid negative user experiences.
By using predictable testing steps, maintaining accurate targeting rules, and reviewing the logic behind each form, you can ensure that your Klaviyo signup forms appear exactly when you want them to.
If you are ready to take your email strategy to the next level, start with a free Klaviyo account and implement what you learned here today. And if you want a customized strategy built for your brand, book a consultation so we can map out your next high-performing campaign together.
Dane Schwaebe
Founder
Email Not Driving Sales?
This checklist will show you what’s broken or missing.


Join The Newsletter
Ready to elevate your brand’s email strategy? Join our newsletter for templates, design inspiration, and automation tips
Click below to sign up now!
Ready to elevate your beauty brand’s marketing?
Follow on social and join our newsletter for exclusive insights on email strategy, automation, and conversion design
Ready for an email strategy that actually converts?
Book a free 20-minute consultation to see how we can help your beauty brand grow through smarter automation.
Explore More Insights

Why Your Klaviyo Sign Up Form Won’t Submit or Add Subscribers

Single Opt In vs Double Opt In in Klaviyo
Email acquisition is one of the most important parts of running an eCommerce business, and Klaviyo gives you several ways to collect subscribers. One of the most common questions new users ask is whether they should use single opt in or double opt in for their signup...

How to Create High-Converting Abandoned Cart Emails in Klaviyo
Klaviyo gives every eCommerce brand a huge head start by offering prebuilt flows the moment you connect your store. One of the most powerful is the out-of-the-box Abandoned Cart flow. It includes the right triggers, delays, and dynamic product blocks to begin...


Recent Comments